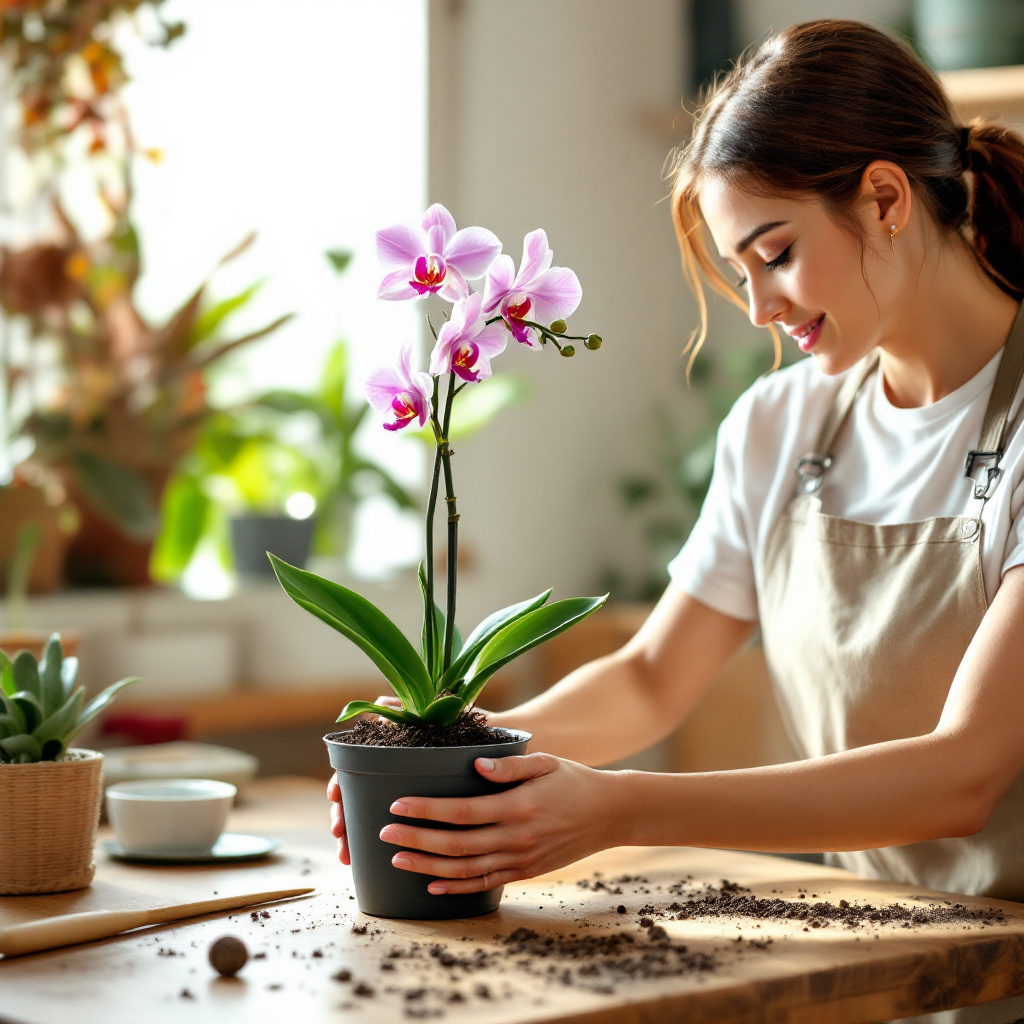
Repotting your orchid is crucial for its health and longevity, as it allows the plant to absorb nutrients efficiently. Over time, the potting medium can break down, leading to root rot and other issues. By learning how to repot an orchid without damaging it, you’ll not only enhance its growth but also ensure it thrives in a well-aerated environment.
Gathering the Right Materials

Before you start, it’s essential to gather the necessary supplies. You’ll need a new pot, orchid potting medium (such as bark or moss), and scissors or shears. Make sure the new pot has adequate drainage to prevent waterlogging. These materials will play a significant role in protecting your orchid during the repotting process.
Step-by-Step Repotting Process
To repot your orchid without causing harm, follow these steps: First, carefully take the orchid out of its current pot. Gently loosen the roots and remove any dead or decayed roots using your scissors. Next, place fresh potting medium at the bottom of your new pot. Position the orchid and fill in the sides with more medium, ensuring the roots are well-covered but the crown stays above the medium. Water lightly after repotting to settle the medium around the roots.

In conclusion, knowing how to repot an orchid without damaging it is an essential skill for any orchid enthusiast. By following these steps, you will maintain your plant’s health and encourage its beautiful blooms for seasons to come.


